Golden Hour Wedding Photography
Planning a wedding? Make sure to capture the moment with golden hour wedding photography. Learn why this style of photography is perfect for your special day with five compelling reasons, from amazing light and unique perspectives to timeless and classic images.
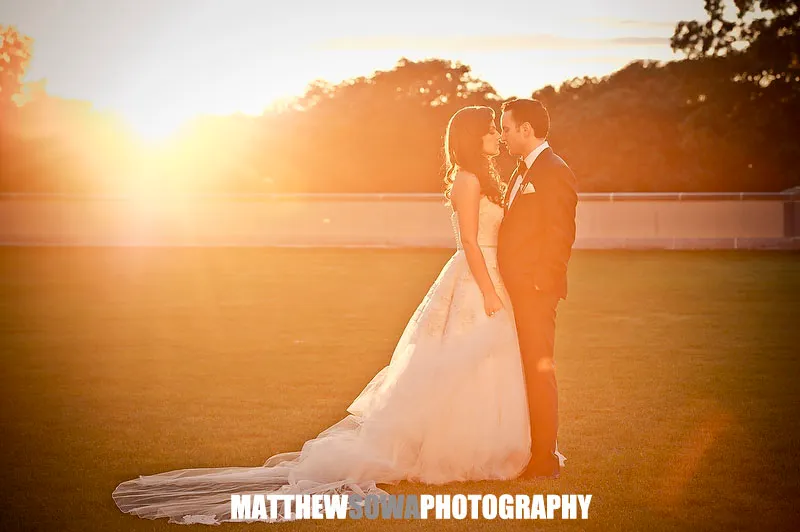
Golden Hours wedding photo shoots are becoming increasingly popular among couples who want to capture beautiful memories of their special day. Capturing the perfect moment during golden hours can result in stunning photographs that will be cherished for years to come. Here are five reasons why a golden hours wedding photo shoot is a brilliant choice for any couple looking to immortalize their love story.
Firstly, the soft light during the golden hour creates an ethereal atmosphere that adds a romantic touch to the photos. Secondly, the natural lighting helps in bringing out the best features of both bride and groom. Thirdly, it helps in making colors look vibrant and lively in pictures. Fourthly, it allows photographers to take advantage of unique angles and perspectives that are not possible during other times of the day. Lastly, it allows couples to get creative with their poses and capture candid moments that they will cherish forever.
Getting married is one of the most important days of your life and you want to capture it in the best way possible. A golden hours wedding photo shoot is a brilliant choice to make sure that you get stunning photos of your special day.
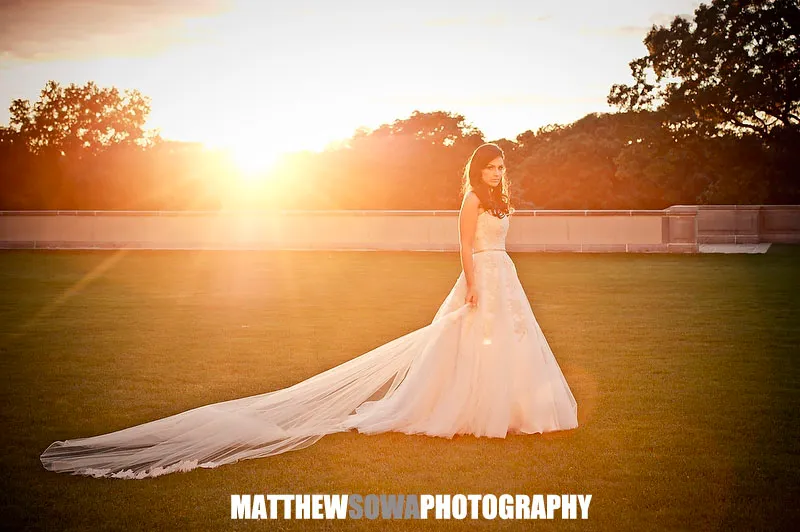
You get natural light: Golden hours provide natural light that can be used to create beautiful, soft, and romantic images. The warm tones of the sun will make your photos look more vibrant in color.Captures the beauty of nature: Golden hour photo shoots are perfect for capturing the beauty of nature as they take place during sunrise or sunset when the sky is filled with beautiful colors and textures.With a golden hours wedding session, you can plan and know exactly when to start taking pictures so that you don’t miss out on any special moments during your big day.
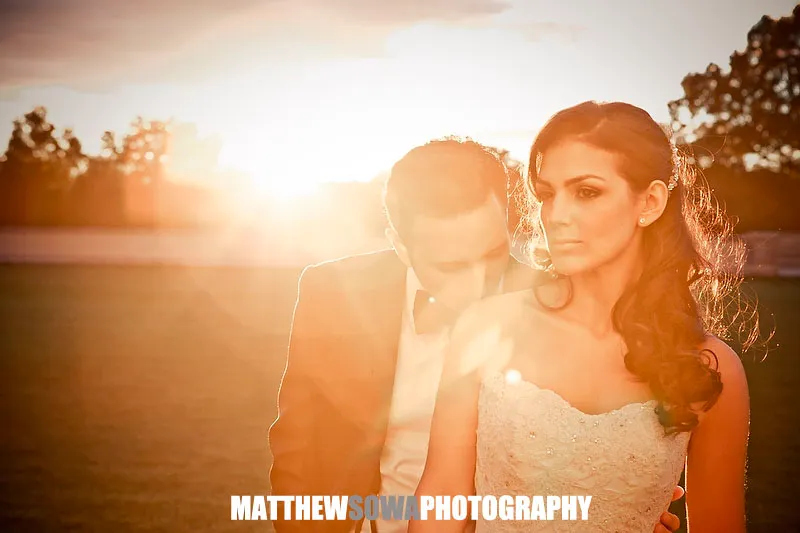
Wedding photography is an important part of a couple’s special day and capturing the perfect moments can be difficult. But with a golden hours wedding photo shoot , couples can ensure that their photos will be beautiful and timeless.The natural light during the golden hour provides stunning visuals. The soft light and warm colors create an atmosphere of romance and beauty that can’t be matched by any other time of day.The golden hour offers photographers more flexibility in terms of angles and poses. This allows them to capture unique perspectives that would otherwise be impossible to achieve. Shooting during the golden hour also allows photographers to take advantage of natural elements such as sunsets or sunrises for added drama in their shots.
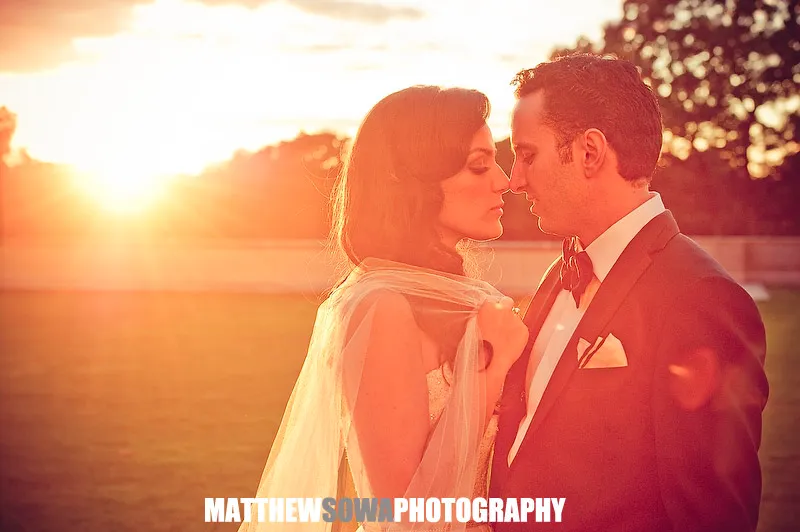
Golden hour photography refers to capturing images during the period shortly after sunrise or before sunset when the light has a warm, golden quality. It is a popular time for photography because the lighting conditions can create stunning and dramatic effects. Here are more tips for golden hour photographers: Plan your shoot: Research the time of sunrise or sunset in your location and plan your shoot accordingly. Make sure to arrive early to set up and find the best angles. Use a tripod: As the light during golden hour can be soft and diffused, using a tripod will help you capture sharp and steady shots, especially if you’re using longer exposures. Utilize the golden light: Take advantage of the warm, soft light during golden hour to create a beautiful ambiance in your photos. Experiment with different angles and compositions to make the most of the light. Shoot in manual mode: To have full control over your camera settings, switch to manual mode. Adjust your aperture, shutter speed, and ISO to achieve the desired exposure and creative effects. Experiment with backlighting: Position your subject with the light behind them to create a stunning backlighting effect. This can add depth and a halo-like glow to your photos. Capture silhouettes: Use the strong contrast during golden hour to create striking silhouettes. Position your subject against the bright background and expose for the sky to create a dark outline. Include sunbursts: When the sun is low on the horizon, you can capture sunbursts or lens flares by partially hiding the sun behind objects such as trees or buildings. This can add an interesting element to your images. Look for reflections: Golden hour light can create beautiful reflections on water bodies or other reflective surfaces. Incorporating these reflections into your compositions can enhance the visual appeal of your photos. Experiment with different focal lengths: Use a variety of lenses or focal lengths to capture different perspectives and compositions. Wide-angle lenses can help you capture expansive landscapes, while telephoto lenses can isolate and compress the elements in your frame. Edit with care: When post-processing your golden hour photos, be careful not to overdo it. Enhance the natural colors and tones, but avoid excessive saturation or unrealistic edits. Subtle adjustments can help bring out the best in your images. Remember, the key to golden hour photography is to be prepared, patient, and creative. Embrace the magical light and explore different techniques to capture stunning images during this special time of day.
Certainly! Here are more detailed tips for golden hour photography: Plan your location: Research and scout potential locations in advance. Look for spots with interesting elements such as landscapes, architecture, water bodies, or vegetation that will complement the golden hour light. Consider how the light will interact with these elements to create unique compositions. Arrive early: Get to your location well before the golden hour begins. This will give you time to set up your gear, compose your shots, and make any necessary adjustments. It also allows you to take advantage of the soft, warm light that occurs before the sun fully rises or sets. Use a tripod and remote shutter release: As the light during golden hour can be low, using a sturdy tripod is essential to keep your camera steady and avoid camera shake. A remote shutter release or self-timer function can further minimize any movement when taking the shot. Choose the right camera settings: Shoot in manual mode to have full control over your camera settings. Start by setting a low ISO (e.g., ISO 100 or 200) to minimize noise and maintain image quality. Adjust your aperture to control the depth of field. A wider aperture (smaller f-number) like f/2.8 or f/4 will create a shallow depth of field, blurring the background and making your subject stand out. Experiment with different shutter speeds to achieve the desired exposure, keeping in mind that longer exposures can create smooth, dreamy effects. Understand and use the light: The quality of light during golden hour is softer, warmer, and more directional compared to other times of the day. Understand how this light interacts with your subject and scene. Observe the way it casts shadows, adds texture, and enhances colors. Use this knowledge to position your subject and compose your shots for maximum impact. Capture the sky: The sky during golden hour can range from warm oranges and pinks to deep blues. Include the sky in your compositions to add depth and interest to your photos. Experiment with different angles and perspectives to capture stunning skies as a backdrop to your subject. Create depth with foreground elements: Incorporate foreground elements such as flowers, grass, rocks, or foliage to add depth and dimension to your images. These elements can create a sense of scale and lead the viewer’s eye into the frame, making the composition more engaging. Experiment with different white balance settings: While the warm tones of golden hour light are appealing, don’t be afraid to experiment with different white balance settings. Try using the “cloudy” or “shade” white balance presets to enhance the warmth, or adjust the white balance manually to achieve your desired color temperature. Utilize golden hour for portraiture: The soft, warm light of golden hour is particularly flattering for portraits. Position your subject facing the light to create a gentle, natural glow on their face. Experiment with backlit portraits to create a halo effect or rim lighting. Stay after sunset: Golden hour doesn’t end immediately after the sun sets. Stick around for a while longer to capture the “blue hour,” which occurs right after sunset. This period offers a different kind of soft, cool light, and can create a tranquil and ethereal atmosphere. Edit to enhance, not overpower: During post-processing, aim to enhance the natural beauty of the golden hour light and your composition. Adjust the exposure, contrast, and color balance to bring out the best in your image, but be careful not to go overboard. Preserve the authenticity and mood of the scene. Remember, practice and experimentation are key to mastering golden hour photography. Each location and lighting condition will offer unique opportunities, so be open to trying different techniques and compositions. Enjoy the process and let your creativity guide you!
NYC Wedding Photographer -Matthew Sowa